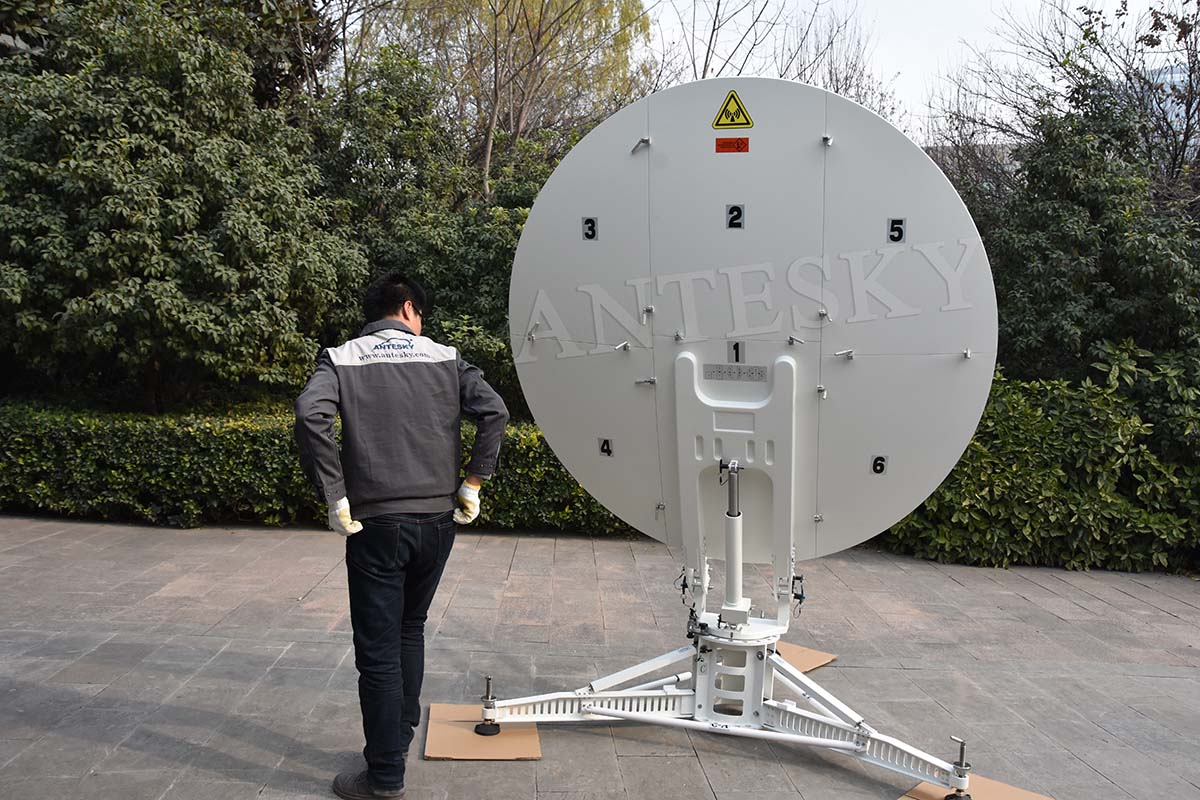
1. Client problem for 1.8m flyaway antenna and background introduction:
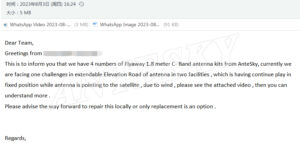
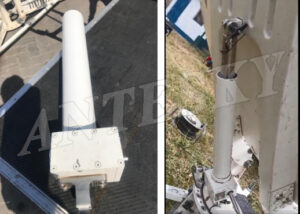
Client ordered 4 sets of 1.8 meter C- Band flyaway antennas kits from AnteSky. At present, they found that there is a problem with the elevation push rods of two of the antenna’s , whihc its EL mechanism kept shaking up and down even it was already fixed, and can’t be steady due to the wind, and sent email to ask for Antesky’s advice that if they can fix it locally or need to replace the EL push rod.
Elevation push rods of 1.8m flyaway antenna on client site
2. How to repair of 1.8m flyaway antenna EL push rod and what precautions during operation?
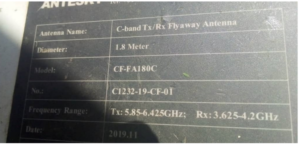
As you know, like any mechanical equipment, they can experience wear and tear over time. When we received customer problem of shaking problem of the elevation push rod of the 1.8m flyaway antenna, our technical team immediately reviewed the previous information and documents. We found get the broken antenna sold from our Antesky in the year of 2019 as below nameplate.
1.8m flyaway antenna nameplate
After our Antesky engineer confirmed the antenna structure in 2019, and our after-sale engineer team gave the solutions accordingly as below .
There are two possibilities:
The first situation: push rod space is too large, and it can be fixed locally;
The second situation: there is something wrong with the parts inside of the EL push rod and need to be returned to the factory for replacement.
Specific steps to troubleshoot the problem on site are as follows:
Below we also share the solutions we provide to our customers for your reference, please judge and deal with it according to the following steps.
Total for 6 steps, details as below.
Firstly, prepare tools and materials needed:
- Wrench Set
- Screwdriver Set
- Pliers
- Lubricating oil or Grease
- Safety Gloves
Step 1: Safety First
Step 2: Judge and identify the specific problem of 1.8m flyaway antenna
Step 3: Remove and examine screw sleeve of 1.8m flyaway antenna EL push rod
Step 4: On site processing of reparing 1.8m flyaway antenna EL push rod depends on situation
Step 5: Reassemble and test the 1.8m flyaway antenna
Step 1: Safety First
Before starting any repair work, ensure your work area is clean and well-lit. Put on your safety gloves and glasses to protect yourself from any potential hazards.
Step 2. Judge and identify the specific problem of 1.8m flyaway antenna
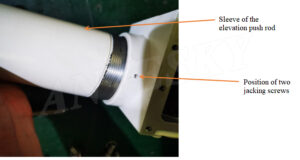
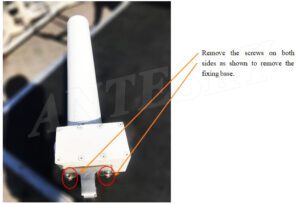
As shown in Fig.1, first loosen the two jacking screws and unscrew the sleeve of the elevation push rod to expose the lead screw inside the push rod.
Fig.1
Step 3: Remove and examine screw sleeve of 1.8m flyaway antenna EL push rod
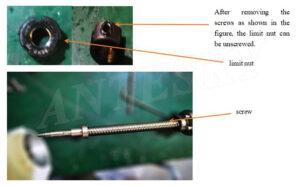
Remove the fixing base behind the push rod as shown in Fig. 2 below. After dismantling, you can manually shake the lead screw to see if the leaked part shakes together after removing the base.
Fig.2
Step 4: On site processing of reparing 1.8m flyaway antenna EL push rod depends on situation
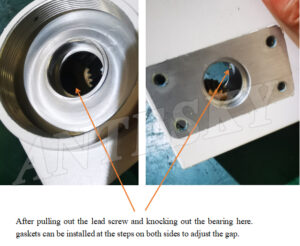
There are two situations, one is, if the exposed part does not shake together with lead screw, there is a problem with the internal parts and needs to be returned to the factory for replacement. The other is that if they shake together, the gap between the push rods is large and needs to be adjusted. The details are as follows: On site, you can unscrew the limit nut of the lead screw, pull out the push rod, add a gasket to adjust the gap at the position shown in the Fig.3, and adjust to no gap, or the gap does not affect the use (no shaking, or shaking can be ignored).
Fig.3
Step 5: Reassemble and test the 1.8m flyaway antenna
After the adjustment is completed, restore the installation of the push rod to the original state, and then it can be installed to the antenna for normal use.
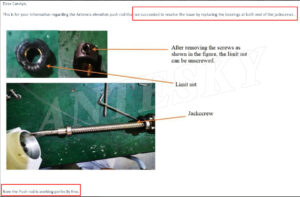
The customer followed the steps given by Antesky and finally successfully solved the problem of elevation push rod shaking locally, which saves clients time and cost! The customer feedback us email as below.
Repairing Elevation (EL) Push Rod shaking of a 1.8m Flyaway Antenna can be easily to finish with the right tools and careful attention to detail. By above these steps, you can extend the lifespan of your equipment and ensure it continues to function reliably in critical situations.
We hope it is helpful for you during operation. If you encounter any challenges or the damage appears severe, please consulting Antesky for further assistance by sales@antesky.com.

